

Anyone who has installed SQL Server may know that some of its services depend on IIS, so to ensure a smooth database installation, enable the IIS service first! One advantage Win7 has over XP is that enabling IIS does not require the system installation disc — you can enable it right from the Control Panel, as shown:
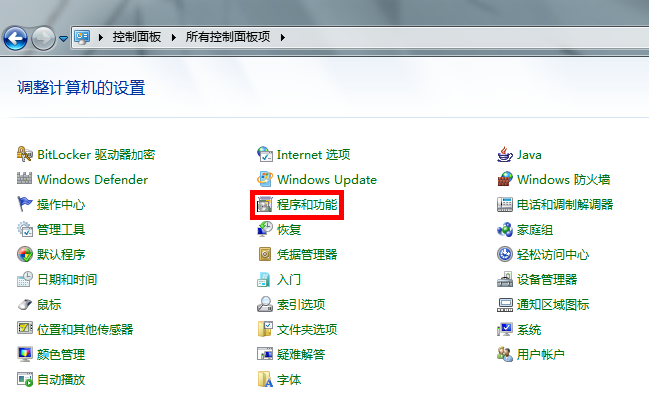
step1
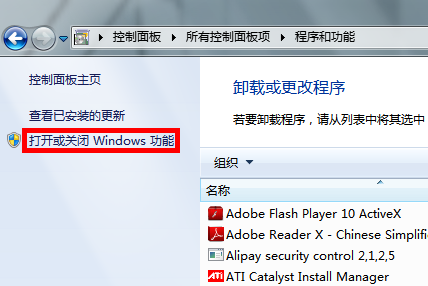
step2
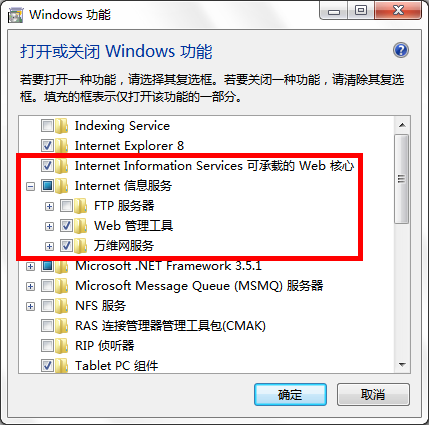
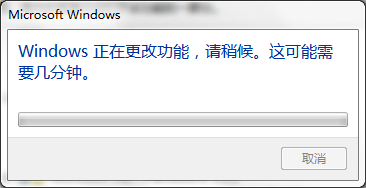
In the third step, note that you need to check the options highlighted in the red box, namely “Internet Information Services Hostable Web Core”, “Web Management Tools”, and “World Wide Web Services”. I’m not sure whether “Web Management Tools” is needed, because when I selected the parent node “Internet Information Services”, some of its sub-items got selected. It’s better to select more than less — you need to select all sub-items for them to display as “√”, otherwise they’ll appear as “■”. Remember, they must show as “√”! The result should look just like step3! After clicking OK, you’ll see the following dialog box.
If we don’t enable the IIS feature, you’ll encounter the following screen during the SQL Server installation.
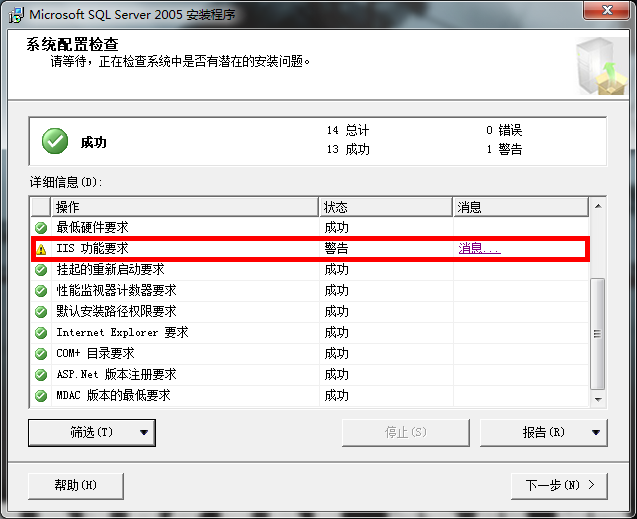
At this point, the IIS feature is enabled. Now let’s begin installing SQL Server.
After extracting the installation files, you’ll get an ISO image — essentially a DVD file that merges two discs into one, so your computer needs a virtual drive. If you don’t know how to use a virtual drive, please search on Baidu first; I won’t go into detail here.
First, launch the virtual drive software and mount the SQL Server image, as shown.
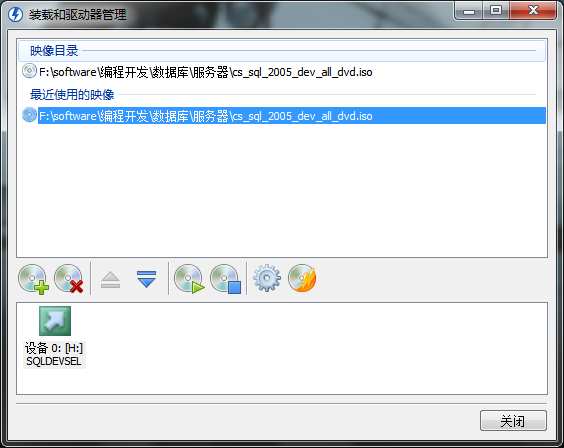
Now you can see the virtual installation disc under My Computer, as shown.

If it doesn’t autorun, double-click the H drive icon to begin the installation.
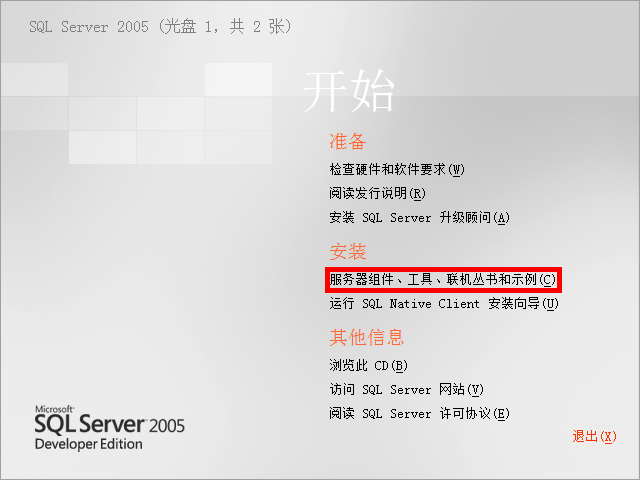
Then the following screen appears.
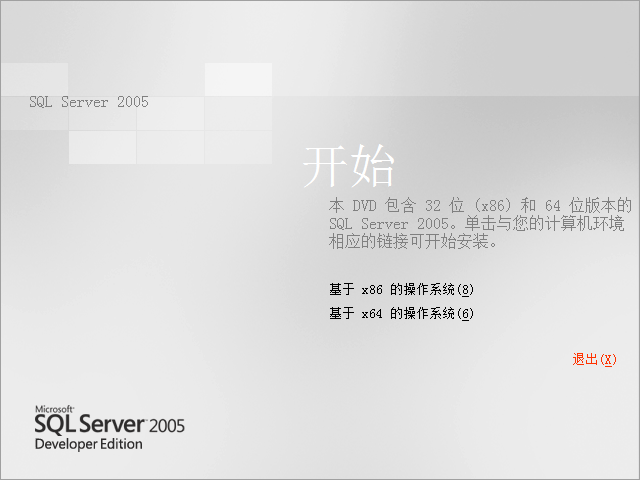
My system is 32-bit, so I naturally select the x86-based option, then click “Server components, tools, Books Online, and samples (C)”.
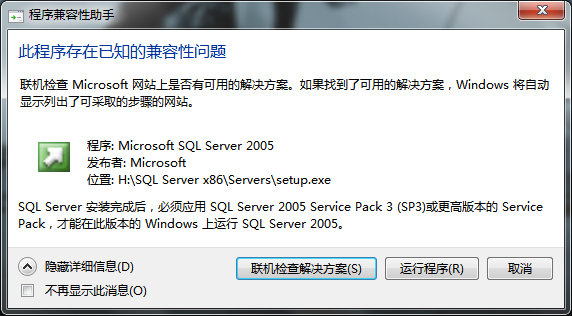
A dialog box pops up; click “Run program (R)”.
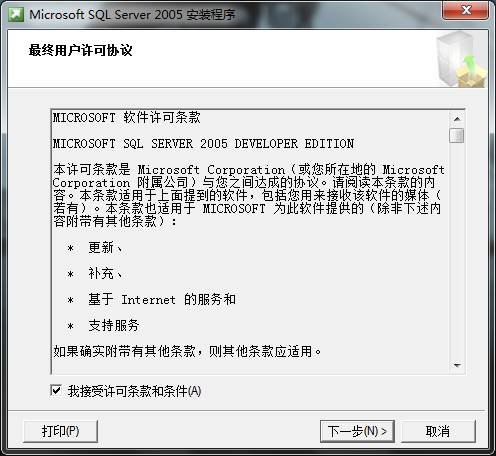
Then the following appears; check the box and click Next.
The installer will check for required components; click “Install”.
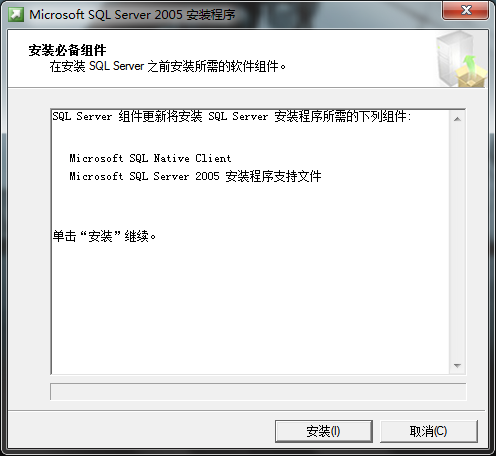
Click “Install”.
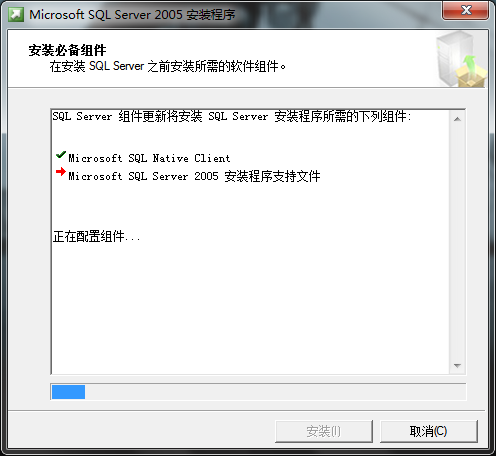
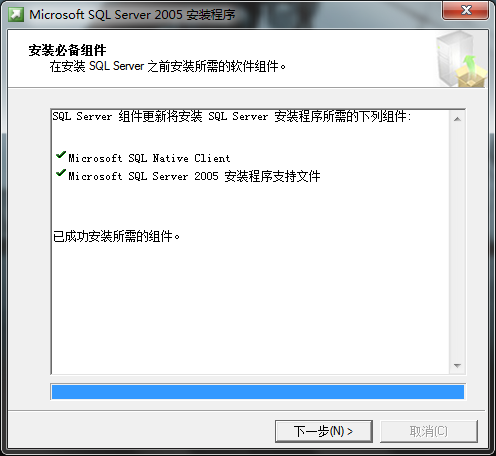
After clicking “Next”, the installer will check the computer configuration.
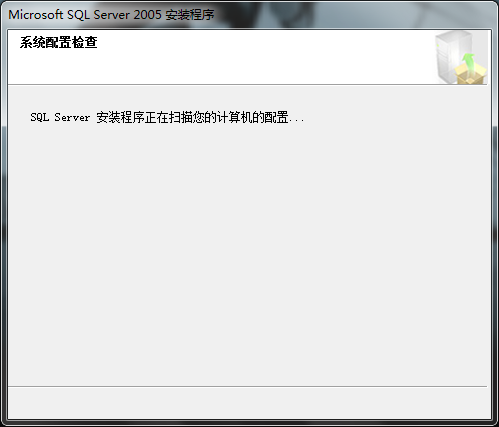
Then it proceeds to the installation wizard.
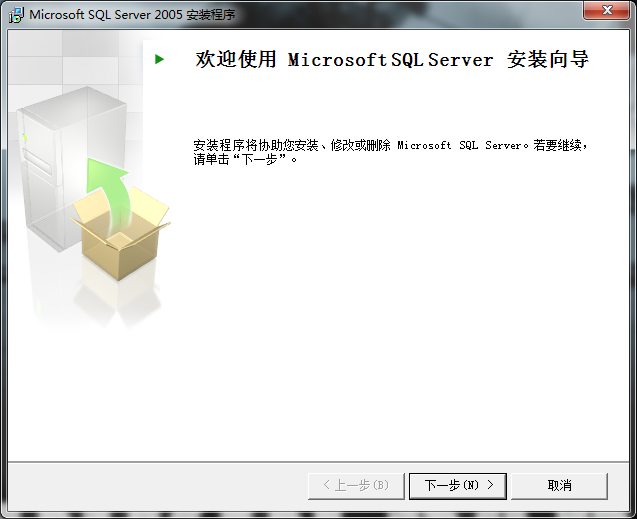
Click “Next”.
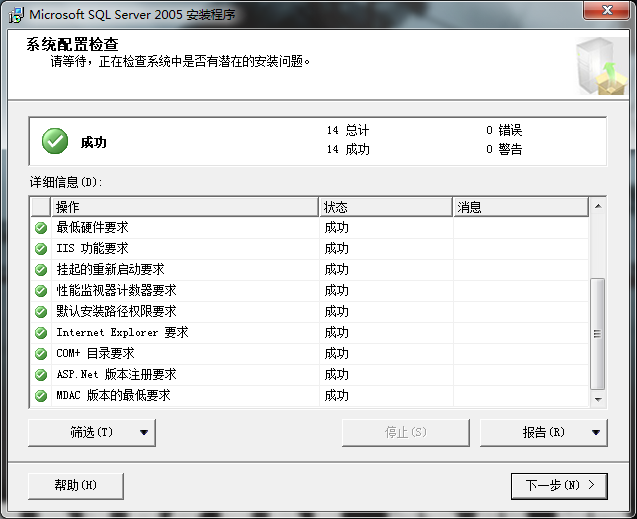
We can see that all items passed successfully. If IIS had not been enabled earlier, you’d see the screen shown before. Click “Next”.
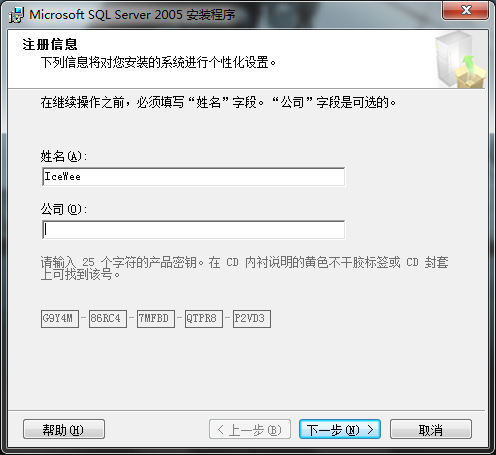
Enter your company name, then click “Next”.
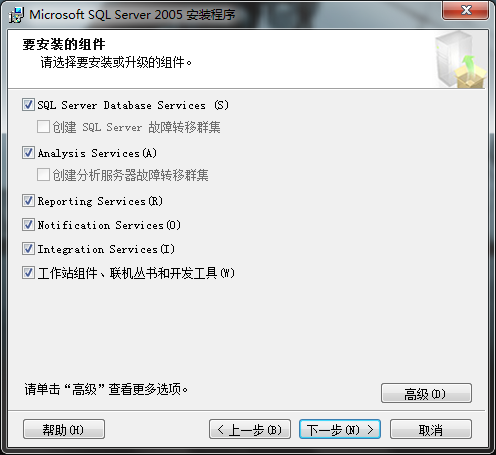
Pay attention here: if only the last checkbox is available and the rest are grayed out, it means your edition is not the Developer Edition. Stop the installation immediately and download the Developer Edition from the link I provided above. After selecting all options, click “Next”.
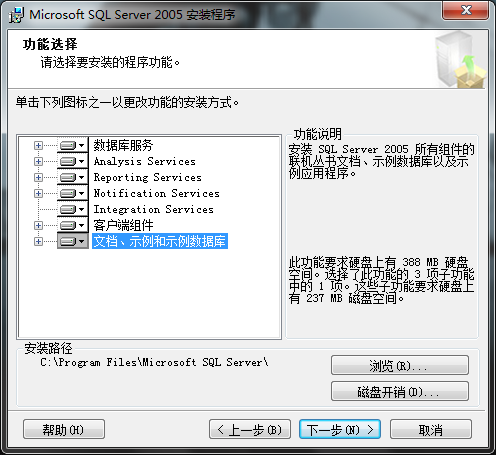
By default it installs to the system drive; we can click Advanced to modify the path. Click “Browse (R)”.
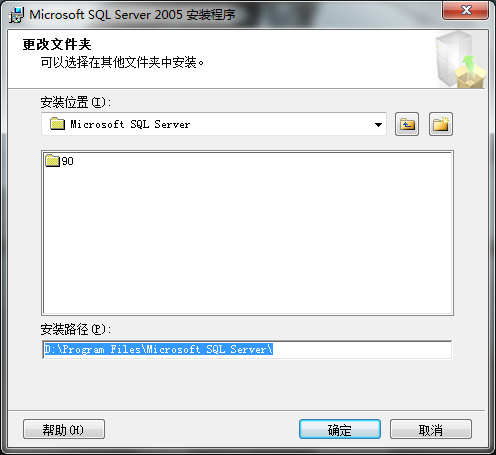
I changed “C” to “D” and clicked “OK”.
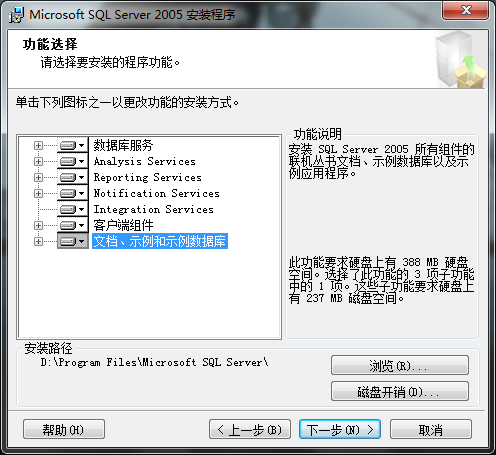
Click “Next”.
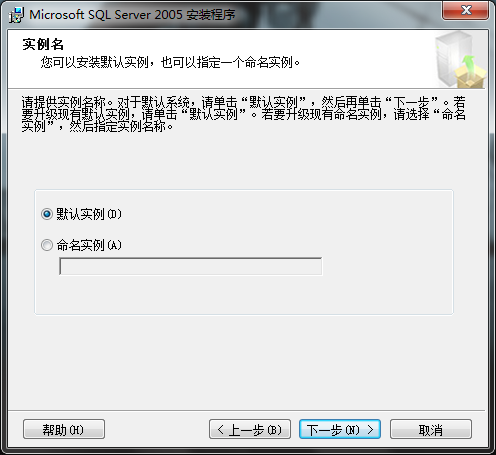
I selected “Default instance”; you can also choose “Named instance”. Click “Next”.
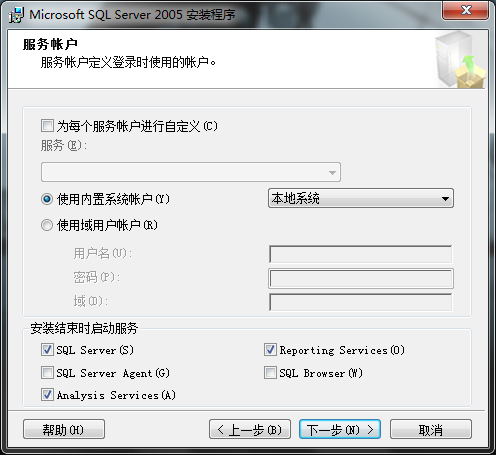
Leave everything at default and click “Next”.
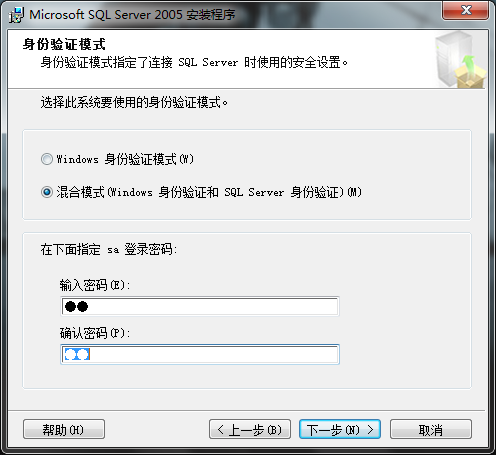
Since other programs may also need to connect to the database, choose “Mixed Mode” and enter the sa password. Click “Next”.
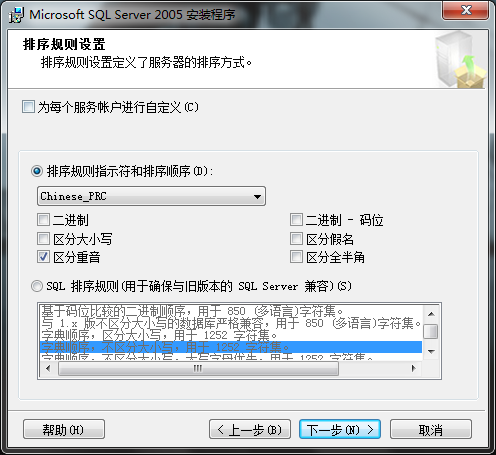
Default settings; click “Next”.
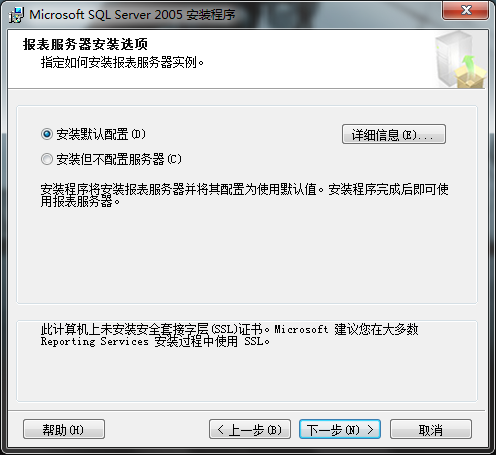
Default settings; click “Next”.
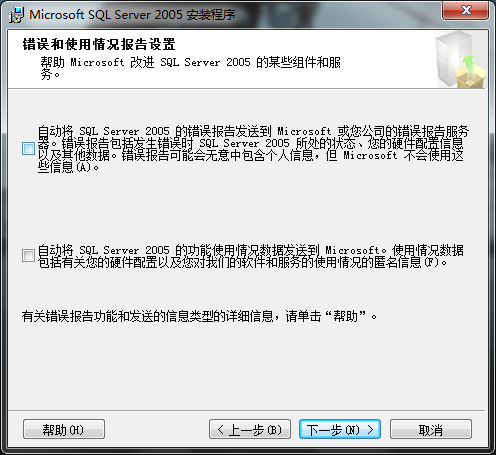
Default settings; click “Next”.
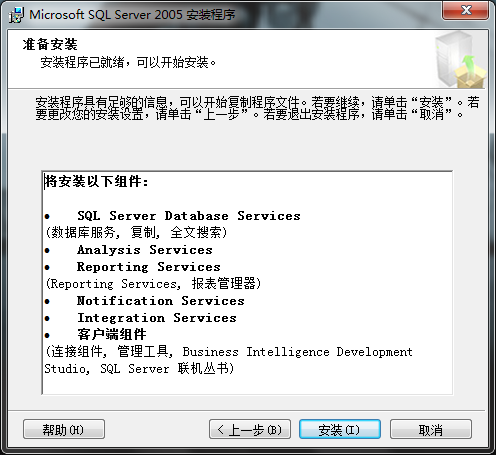
The lengthy installation is just about to begin. Click “Install”.
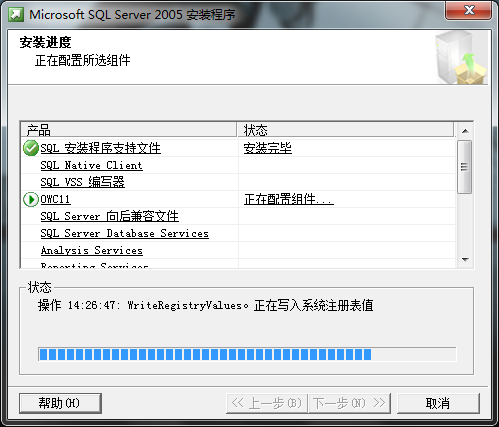
This process is quite time-consuming; just be patient and wait.
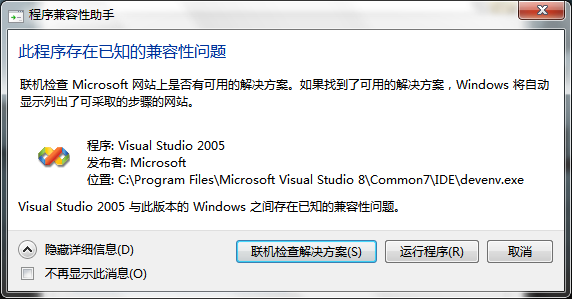
During the installation, the first popup window appears. Click “Run program (R)”.
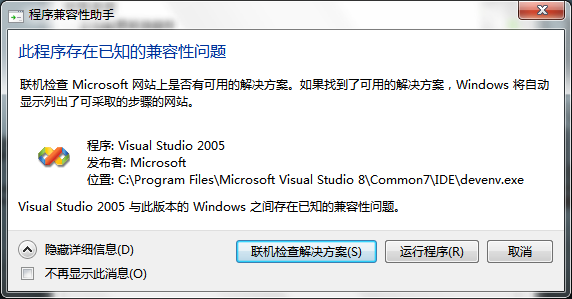
After installing for a while, another popup appears. Click “Run program (R)” again.
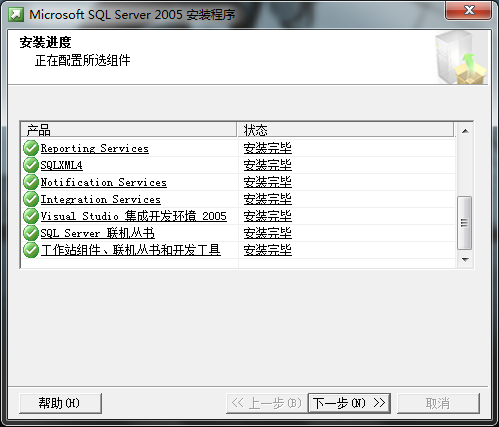
All modules have been installed. Click “Next”.
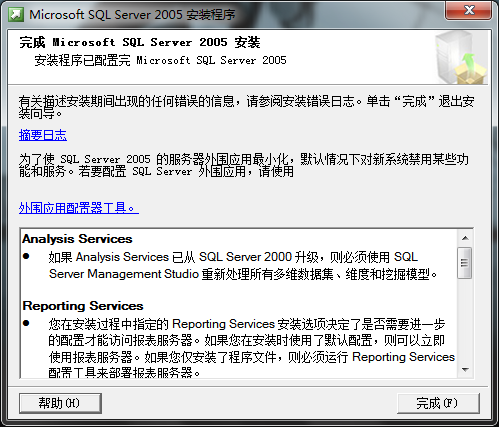
We’re almost done. Click “Finish (F)”.
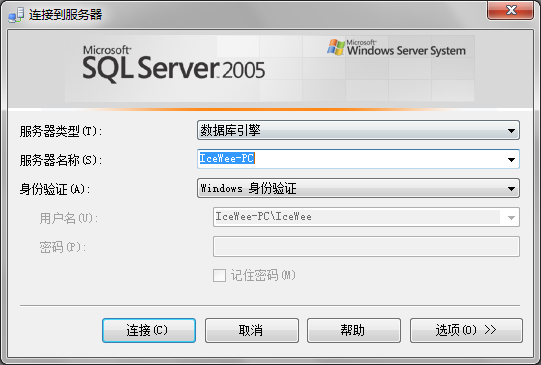
This interface is for logging into the database you just installed. Since we used the “Default instance” during installation, which is the computer name, “IceWee-PC” is my computer name. Click Connect to log into the database.
Personally, I feel there are two key things to watch out for when installing SQL Server: first, enabling the IIS feature; second, making sure you pick the right edition. I got it wrong the first time — I downloaded the Enterprise Edition, and as a result
I could only install “Workstation components, Books Online and development tools”.
Regarding other computers on the LAN connecting to this database, I also ran into some small trouble and spent quite a while figuring it out.
First, the system firewall and other third-party firewalls, such as 360, QQ PC Manager, antivirus software, etc. — this is common sense.
Second, use the telnet command to connect. If you can connect, then you can definitely access it. Command format:
telnet <database IP> 1433
If you can’t connect, you’ll see the following screen.
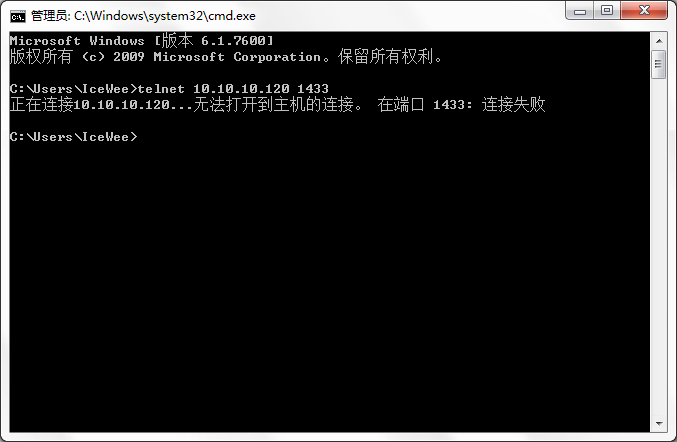
Just to be able to telnet into my database, I struggled for half a day! Half a day! Haha, but I finally solved it in the end.
Start → Microsoft SQL Server 2005 → Configuration Tools → SQL Server Configuration Manager
In the popup window, expand the tree on the left as shown below.
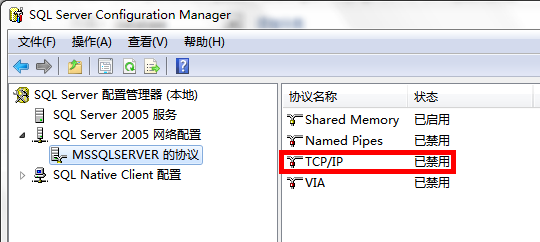
We can see that the “TCP/IP” protocol highlighted in the red box is in “Disabled” status. After enabling it and restarting SQL Server, you’ll be able to telnet in!