

Installation Steps:
1. Install via yum
yum install subversion
2. Create the SVN repository directory (you can place it anywhere):
mkdir -p /var/svn/svnrepos
3. Create the repository
svnadmin create /var/svn/svnrepos
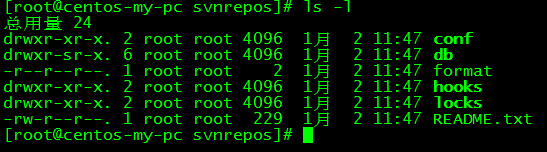
After executing this command, the following files will be generated in the /var/svn/svnrepos directory
4. Enter the conf directory (the SVN repository configuration files)
authz is the permission control file
passwd is the account password file
svnserve.conf is the SVN service configuration file
authz is the permission control file
passwd is the account password file
svnserve.conf is the SVN service configuration file
Set up account and password
vi passwd
Add users and passwords in the [users] block, format: account=password, e.g., dan=dan
Set permissions
vi authz
Add the following code at the end:
[/]
dan=rw
w=r
This means dan has read-write permissions on the repository root directory, and w has read-only permission.
5. Modify the svnserve.conf file
vi svnserve.conf
Uncomment the following lines:
anon-access = read #Note: After uncommenting, change read to none; otherwise, you won’t be able to browse repository logs later.
auth-access = write #Authorized users can write
password-db = passwd #Specifies which file to use as the account file
authz-db = authz #Specifies which file to use as the permission file
9. Start the SVN repository
svnserve -d -r /var/svn/svnrepos
10. Test on Windows
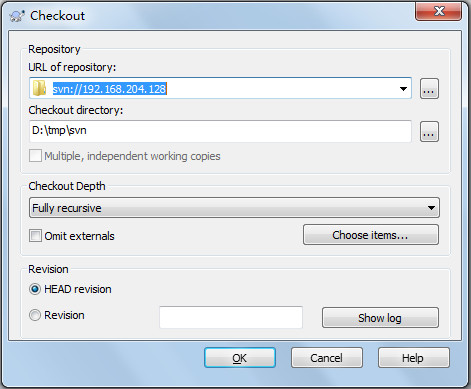
Create a new test folder, right-click inside the folder, and select SVN Checkout (requires pre-installed TortoiseSVN).
Create a new test folder, right-click inside the folder, and select SVN Checkout (requires pre-installed TortoiseSVN).
Enter the SVN address as shown below:
Enter the password.
Note: There should be no spaces before the uncommented lines, otherwise it may cause an error.