

In our daily computer use, most of us have experienced being locked out of a system due to a forgotten password. How should we handle this kind of problem? Many of you will surely think of various password cracking tools, the most famous of which is the ERD Commander Boot CD.
The ERD Commander Boot CD is a bootable disc capable of starting an operating system. The ERD disc is built around Windows PE and includes many common tools. These tools can help us perform tasks such as password cracking, file copying, registry editing, and system restoration, making it very convenient to use. Many users are familiar with using ERD 5.0 to crack passwords for XP and Win2003, but due to architectural differences, ERD 5.0 is ineffective against Vista and Win2008. So, do we have a suitable tool that can work on Vista and Win2008? The answer is yes. Today, we will introduce ERD 6.0, which can be used on Vista and Win2008. ERD 6.0 is provided as part of the MDOP (Microsoft Desktop Optimization Pack) suite. Using MDOP 2009 as an example, we will show you how to customize an ERD 6.0 tool disc.
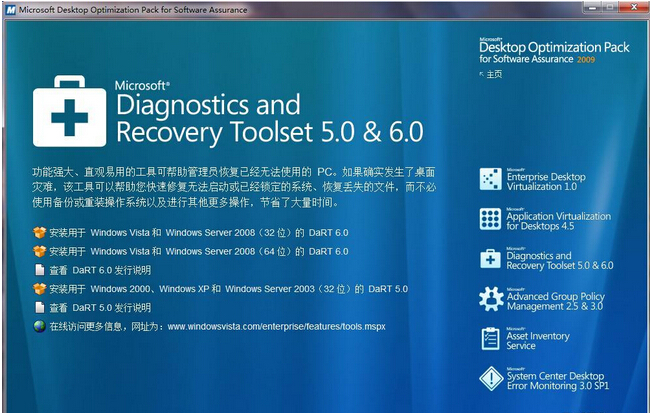
Insert the MDOP 2009 installation disc into a computer running Vista or Win2008. MDOP 2009 will automatically launch the setup program. As shown in the image below, we select “Diagnostics and Recovery Toolset 5.0&6.0”. As the name implies, we can use MDOP 2009 to create either ERD 5.0 or ERD 6.0.
As shown in the image below, we select “Install DaRT 6.0 for Windows Vista and Windows Server 2008 (32-bit)”.
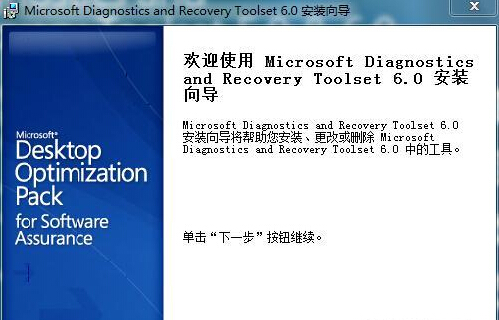
The Microsoft Diagnostics and Recovery Toolset 6.0 installation wizard starts. Click “Next” to continue.
Click “I Agree” to accept the End-User License Agreement.
We choose to make the software available to everyone, and click “Next” to continue.
For the installation type, we select Complete Installation and click “Next” to continue.
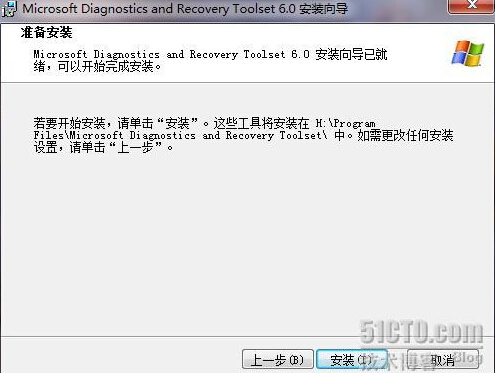
After confirming the installation parameters, click “Install” to start the software deployment.
After the software installation is complete, on the computer, we navigate to Start – All Programs – Microsoft Diagnostics and Recovery Toolset – ERD Commander Boot Media Wizard. As shown in the image below, we are ready to create the ERD 6.0 system tool disc.
ERD 6.0 requires us to provide a Vista installation disc, as ERD 6.0 needs the Boot.wim file from the installation disc to start the computer. We insert the Vista installation disc into the optical drive and click “Next” to continue.
The setup wizard is ready to extract the boot image (Boot.wim) from the Vista disc. Click “Next” to continue.
Next, the setup wizard asks which tools we want to include on the ERD disc. We can customize the tools as needed, then click “Next” to continue.
Then, the setup wizard asks if we need to add hardware drivers for the ERD system disc. Typically, hard disk controller drivers and network card drivers require special consideration.
Finally, the setup wizard asks if we need to include other files in ERD 6.0. We can use this feature to add some small utility software to ERD 6.0.
We need to define the storage path for the ERD 6.0 ISO file.
After the setup wizard generates the ERD 6.0 image file, it thoughtfully asks whether we want to burn the image file to a disc. Here, we can choose which optical drive to use for the burning task.
As shown in the image below, the ERD 6.0 image file is successfully generated. After we burn the image file to a disc, we will have a powerful system maintenance disc at our disposal.
Now that we have the ERD disc, let’s test its effectiveness. Suppose there is a Win2008 system for which we have forgotten the administrator password. Can we use ERD 6.0 to reset the administrator password? Let’s Try! Insert ERD 6.0 into the Win2008 computer. As shown in the image below, after ERD 6.0 starts, it asks whether to initialize the network connection in the background. If we only need to reset the administrator password, we can select “No”.
Next, select the keyboard layout; the default value is fine.
Next, choose the operating system to repair and click “Next” to continue.
Then we need to select a recovery tool. As shown in the image below, we select “Microsoft Diagnostics and Recovery Toolset”.
In the Microsoft Diagnostics and Recovery Toolset, we select “Locksmith”.The Locksmith wizard starts; click “Next” to continue.
We choose to reset the administrator password, enter the new password, and click “Next” to continue.
The Locksmith process is complete. After restarting the system, we find that the newly set administrator password has taken effect. How about that? The results are great. Everyone, go and give it a try soon.