

In Linux systems, this virtual memory is called SWaP. During OS installation, the setup wizard will prompt you to specify how much SWaP space to create. When installing Oracle 10g on a Linux system, we encountered a situation where the SWaP partition was too small and needed to be expanded manually. Here, let’s learn how to extend a SWaP partition.
1 Create a Partition
The following operations must be performed under the root user. First, create a partition using the dd command, for example:
dd if=/dev/zero of=/home/swap bs=1024 count=1024000
This will create a partition file at /home/swap. The file size is 1024000 blocks. Generally, 1 block is 1K, so the space here is 1024M.
2 Specify the Partition Type as SWaP
To turn the partition into a SWaP partition, use the mkswap command as follows:
/sbin/mkswap /home/swap
Then activate this SWaP partition to make it effective.
/sbin/swapon /home/swap
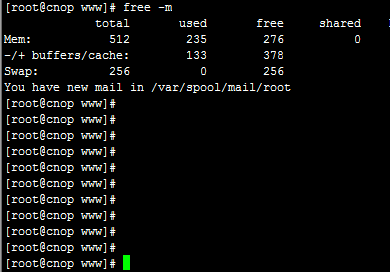
Now use the free -m command to check the memory and SWaP partition size, and you will find that 512M of space has been added.
3 Set the Extended SWaP Partition to Auto-Mount
However, after the computer restarts, you will find the SWaP is still its original size; the new SWaP does not activate automatically and must be started manually.
We need to modify the /etc/fstab file and add the following line as an auto-mount command:
Open fstab:
vi /etc/fstab
Add the following content:
/home/swap swap swap defaults 0 0
Thus, we have successfully extended the SWaP partition. Hope you all learn something from this.