

Note: We use the user `jjzb` to install and start Redis. Please create the relevant user in advance. The installation path is `/home/jjzb/redis`, which you can modify according to your situation.
1. Compile and Install
[root@localhost ~]#yum -y install gcc gcc-c++ libstdc++-devel tcl wget vim tree gcc gcc-c++ autoconf curl-devel ruby ruby-devel rubygems rpm-build #Install dependencies
[root@localhost ~]#su – jjzb
[jjzb@localhost ~]$mkdir /home/jjzb #Please download the installation file directly to the target installation path
[jjzb@localhost ~]$ wget http://mirror.cnop.net/redis/redis-3.2.6.tar.gz
[jjzb@localhost ~]$ tar -zxvf redis-3.2.6.tar.gz
[jjzb@localhost ~]$ mv redis-3.2.6 redis #We need to install to the /home/jjzb/redis directory, so rename it here.
[jjzb@localhost ~]$ cd redis
[jjzb@localhost ~]$make
If you encounter the error:
zmalloc.h:50:31: error: jemalloc/jemalloc.h: No such file or directory
zmalloc.h:55:2: error: #error "Newer version of jemalloc required"
make[1]: *** [adlist.o] Error 1
Use the following command and then run make:
[jjzb@localhost ~]$ make MALLOC=libc
[jjzb@localhost ~]$ make test #Test the installation; you can install if there are no errors.
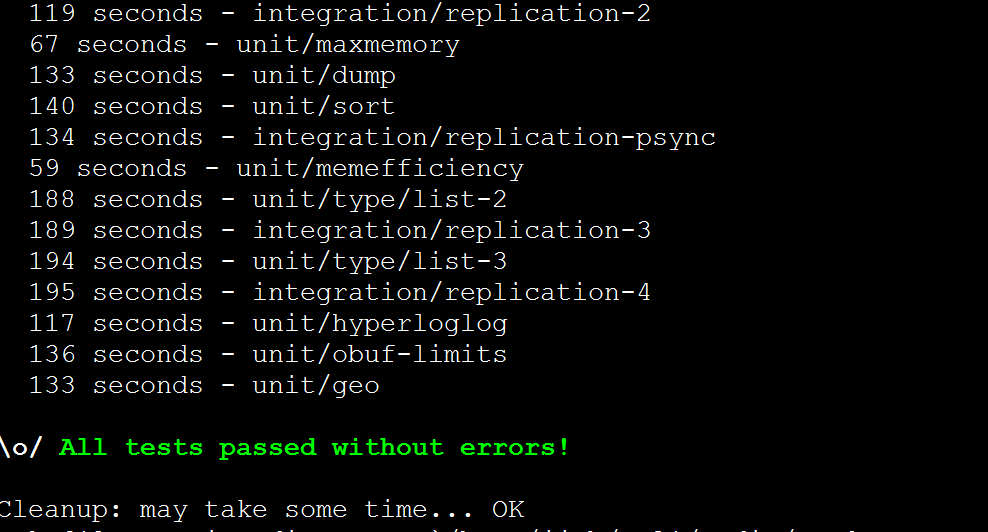
Running Redis in the Background:
By default, the `daemonize` parameter in the copied `redis.conf` file is `no`, so Redis will not run in the background. We can modify the `redis.conf` file, which is located in the root directory of the extracted Redis package.
[jjzb@localhost ~]$ vi /home/jjzb/redis/redis.conf
Modify the daemon mode and bind IP:
daemonize no
to
daemonize yes
Modify:
bind 127.0.0.1
to
bind 0.0.0.0 #All available IPs on this machine (bind according to your situation)
Add at the end (optional):
maxmemory 6442450944 #Limit max memory to 6G
requirepass 123456 # 123456 is the password to access Redis
Use root to add shortcut commands (otherwise unrecognized command errors will appear later):
[root@localhost ~]# cp /home/jjzb/redis/src/redis-trib.rb /usr/local/bin/
[root@localhost ~]# cp /home/jjzb/redis/src/redis-cli /usr/local/bin/
[root@localhost ~]# cp /home/jjzb/redis/src/redis-server /usr/local/bin/
[root@localhost ~]# chown jjzb.jjzb /usr/local/bin/redis*
2. Start (as jjzb user)
[jjzb@localhost ~]$/home/jjzb/redis/src/redis-server /home/jjzb/redis/redis.conf #Start
or
[jjzb@localhost ~]$redis-server /home/jjzb/redis/redis.conf
3. Add Firewall Exception:
[root@localhost ~]# /sbin/iptables -I INPUT -p tcp –dport 6379 -j ACCEPT
[root@localhost ~]#/etc/rc.d/init.d/iptables save
[root@localhost ~]#service iptables restart
4. Auto-start on Boot (operate as root user)
vi /etc/rc.local
or
vi /etc/rc.d/rc.local
Add the following information:
su – jjzb -c "redis-server /home/jjzb/redis/redis.conf"
4. Testing
[jjzb@localhost ~]$redis-cli
127.0.0.1:6379> set foo bar
127.0.0.1:6379> get foo
"bar"
127.0.0.1:6379> keys * #Query all
1) "foo"
Benchmark Test: Simulate 1000 concurrent connections and 100,000 requests to test the performance of the Redis server on localhost port 6379.
redis-benchmark -h localhost -p 6379 -c 1000 -n 100000
You can start multiple instances using the same method by simply copying and modifying the `redis.conf` file and specifying the file during startup.