mstsc is the built-in remote connection tool that comes with the system, just like commonly used remote tools such as Sunlogin and ToDesk. The difference is that mstsc is built into the system and requires no installation.
frp is a very useful intranet penetration tool. Today, we will look at how to use frp to enable remote connection to a Windows computer via mstsc.
Of course, the prerequisite for achieving intranet penetration is to have a server acting as a jump proxy machine to facilitate the transfer between the connecting end and the connected end.
1. Enable Remote Connection
First, you need to enable the computer’s remote connection feature: My Computer -> Right-click -> Properties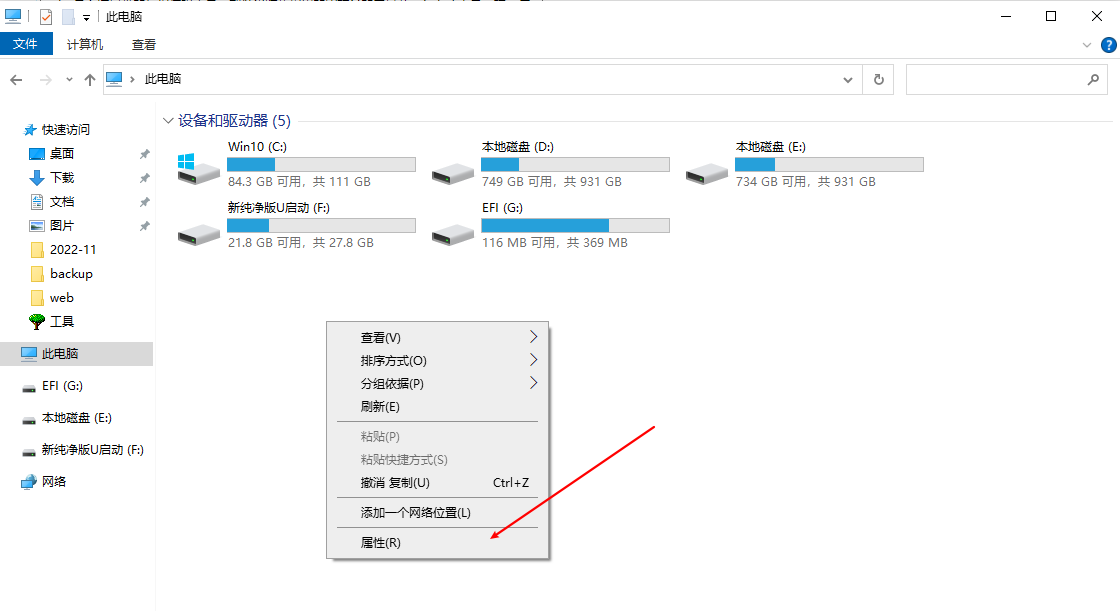
Enable Remote Connection in the remote settings: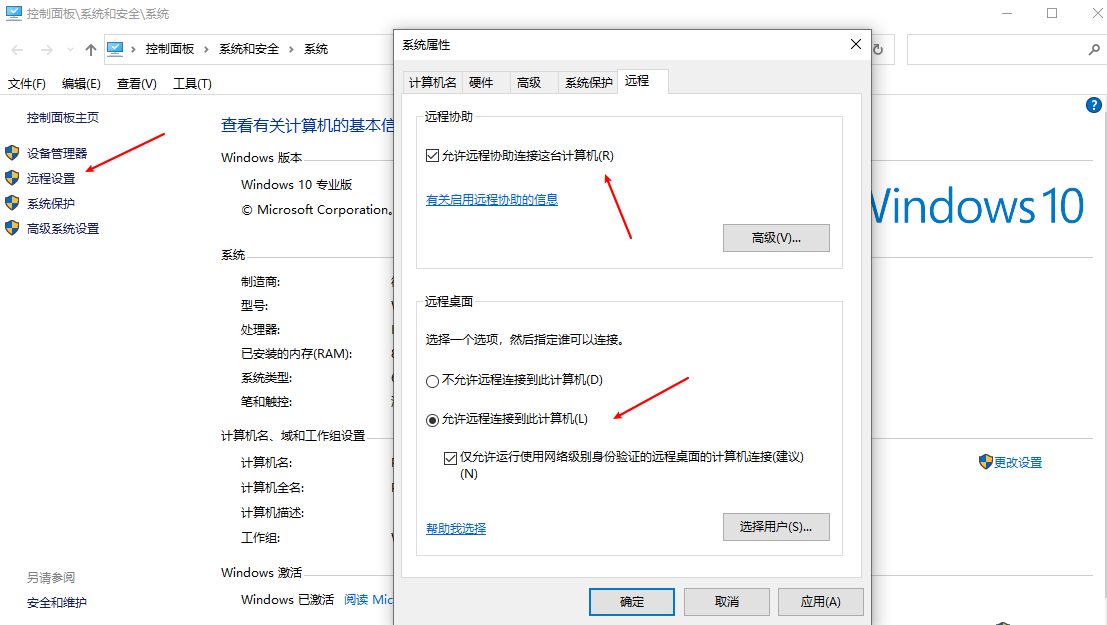
2. Set a Password
You need to set a password for your computer. Make the password as complex as possible to avoid being attacked.
Right-click My Computer -> Manage -> Local Users and Groups -> Find the logged-in user, right-click -> Set a password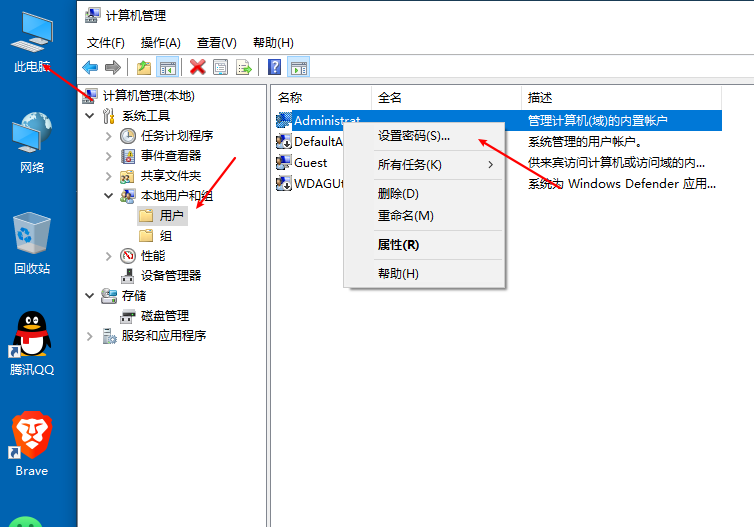
3. Server-Side Installation (Linux Example)
wget https://mirror.cnop.net/tool/frp/frp_0.45.0_linux_amd64.tar.gz
tar zxvf frp_0.45.0_linux_amd64.tar.gz
mv frp_0.45.0_linux_amd64 /usr/local/frp && cd /usr/local/frp
Edit Server-Side Configuration File:
vim frps.ini
[common]
bind_port = 8000
vhost_http_port = 8081
token = Aa@123456789
authentication_timeout = 900
#frp Dashboard
dashboard_port = 7500
dashboard_user = admin
dashboard_pwd = Ad@123456789
Configure Auto-Start on Boot:
vim /etc/systemd/system/frps.service
[Unit]
Description = frpserver
After = network.target syslog.target
Wants = network.target
[Service]
Type = simple
ExecStart = /usr/local/frp/frps -c /usr/local/frp/frps.ini
[Install]
WantedBy = multi-user.target
Start the Service:
systemctl start frps && systemctl enable frps
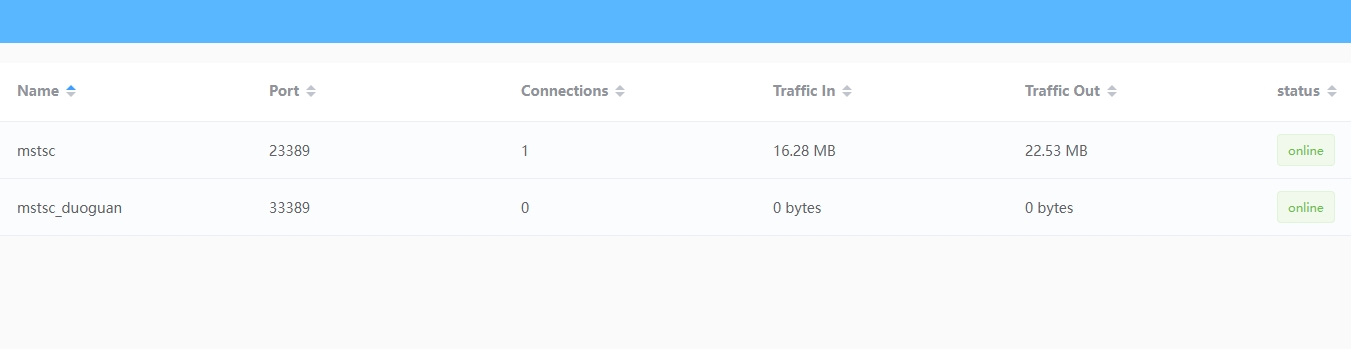
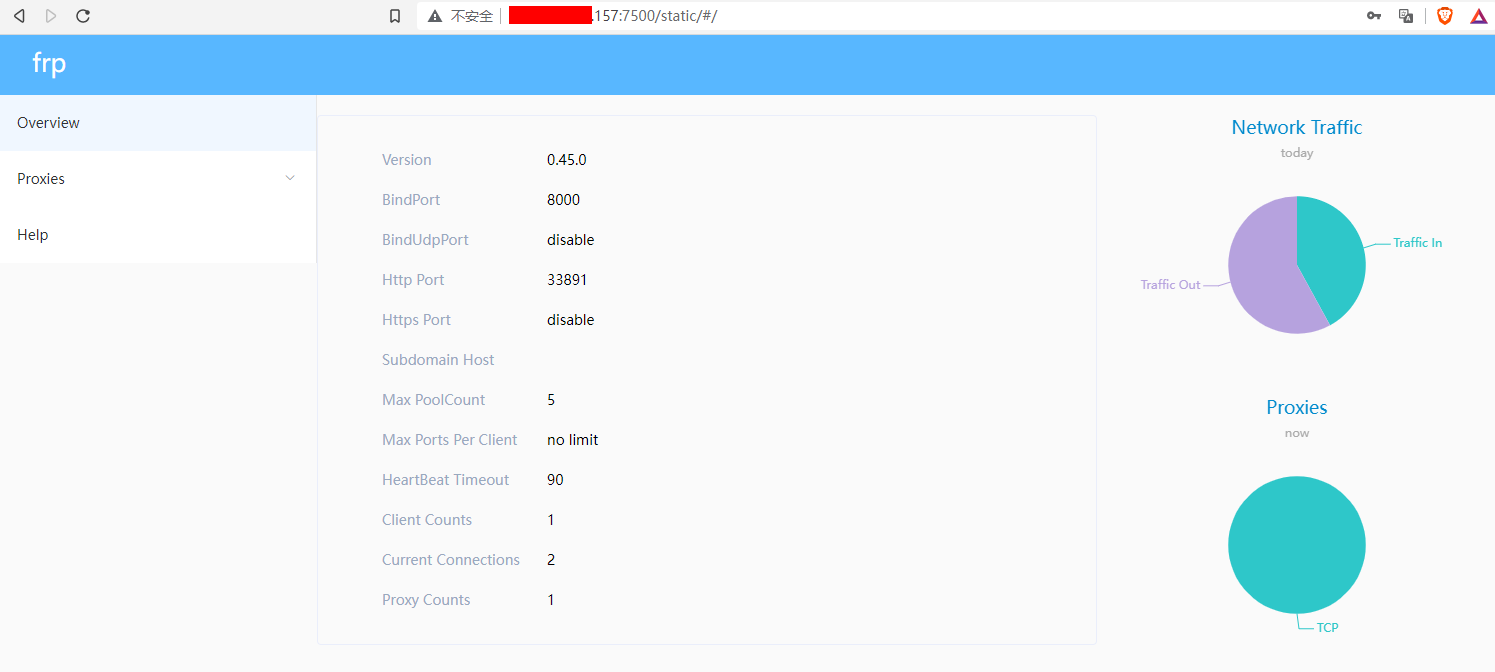
Access the visual monitoring dashboard via browser (replace ip with your own server IP). The login credentials are the ones you set above. The interface looks like this:
http://114.114.103.100:7500
4. Client Download
https://mirror.cnop.net/tool/frp/frp_0.45.0_windows_amd64.zip
Extract the contents to c:/frp. After extraction, open frpc.ini and add the following (replace the IP address with your own):
[common]
server_addr = 114.114.103.100
server_port = 8000
# Important, must match bind_port
token = Aa@123456789
# Must match the token above
[mstsc]
type = tcp
local_port = 3389
# Local remote desktop port, default 3389
remote_port = 13388
# Important, used for connecting from the client side
Add to startup: Create a start.bat file with the following content
@echo off
if "%1" == "h" goto begin
mshta vbscript:createobject("wscript.shell").run("%~nx0 h",0)(window.close)&&exit
:begin
c:/frp/frpc.exe -c c:/frp/frpc.ini
Start on boot:
Right-click on start.bat (using my frp-start.bat as an example) -> Send to -> Desktop (create shortcut):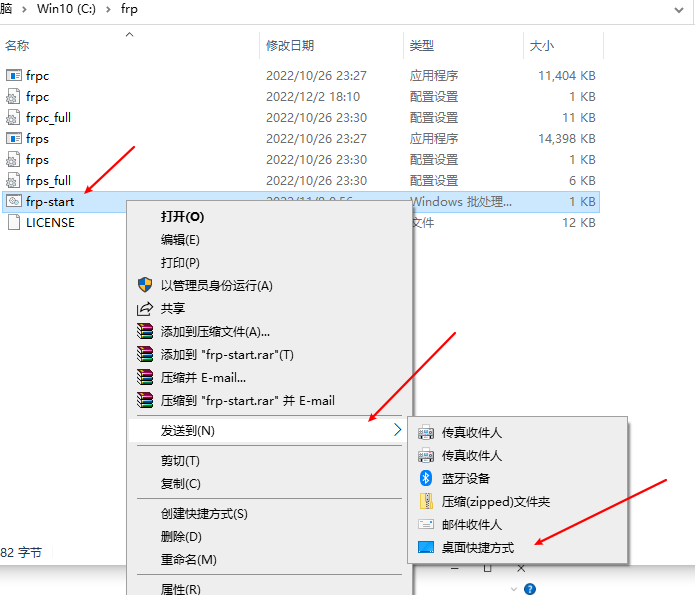
Open This PC -> type “startup” and press Enter -> drag the desktop shortcut file into the folder: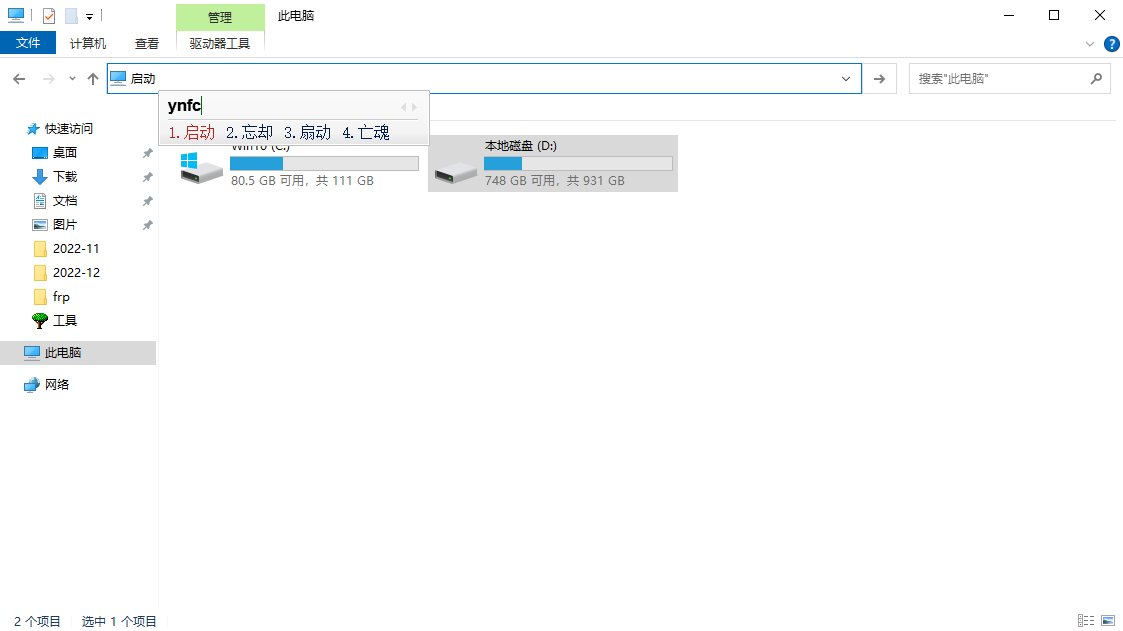
5. Connection
Press Windows+R to open the Run dialog, type mstsc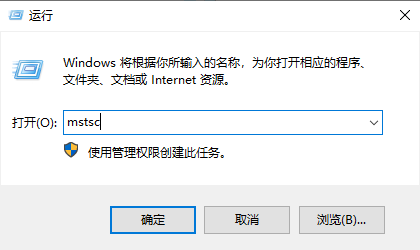
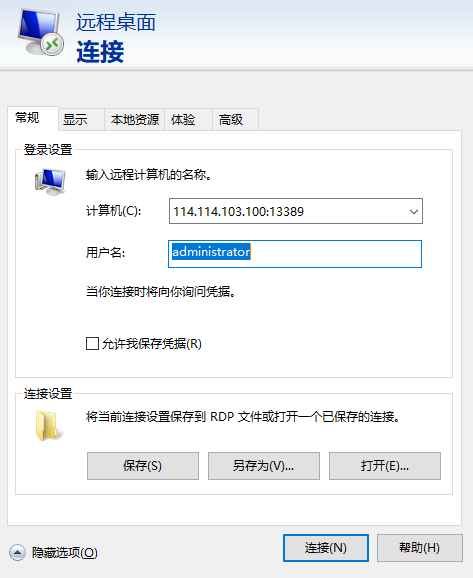
Simply connect using mstsc to 114.114.103.100:13388.
What if you need two clients to connect to one server? In that case, you need to modify the following:
[mstsc]
remote_port = 13389
Change to:
[mstsc2]
remote_port = 23389
The service names and ports must be unique, otherwise the server side cannot distinguish between them.
At this point, the server dashboard will show both services: