

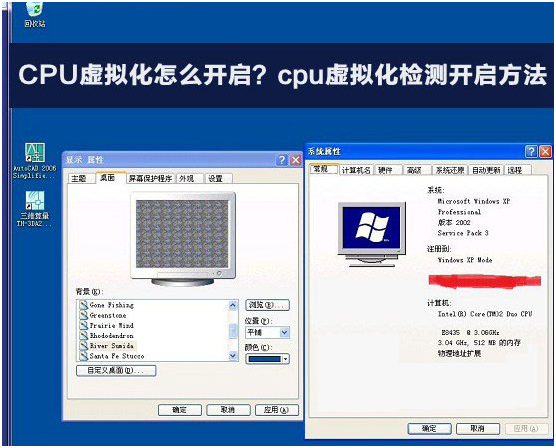
Most modern CPUs support virtualization technology, but some computers ship with this feature disabled in the BIOS by default. So, how do you enable CPU virtualization? Let’s walk through the detailed steps below.
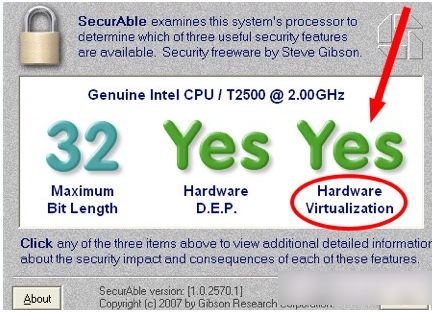
1. First, check whether your CPU supports virtualization. We recommend using a tool called “Securable” for this. Download and open Securable; it will automatically detect if your CPU supports virtualization. If it shows “YES” under “Hard Virtualization,” your CPU supports it (as shown in the image).
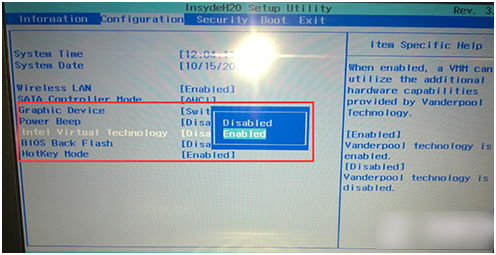
2. If your CPU supports it, you can proceed to enable it in the BIOS. The specific steps are: restart your computer and press the Del key to enter the BIOS. Taking my own computer’s BIOS as an example, first switch to the “Configuration” tab, then locate the “Inter Virtual Technology” item, and change its value to “Enabled,” as shown in the image.
These are the methods to check and enable CPU virtualization. Give it a try if you need it.