

Applicable Systems: Linux (Redhat, CentOS, Debian, Ubuntu)
* If your Linux cloud server data disk has not been partitioned and formatted, you can follow the steps below to perform partitioning and formatting.
The following operation will partition the data disk into a single partition for use. You must perform this operation before installing the AMH panel!
1. Check the Data Disk
Before partitioning and formatting the data disk, you cannot see it using the “df -h” command. You can use the “fdisk -l” command to check. See the image below:
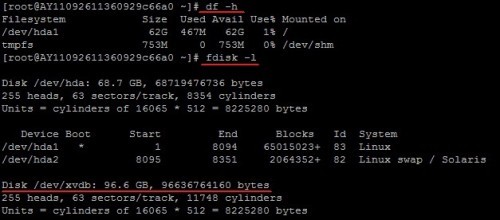
Friendly Reminder: If you run the "fdisk -l" command and do not find /dev/xvdb, it means your cloud server has no data disk, so you do not need to mount it, and this tutorial does not apply to you.
2. Partition the Data Disk
Run the “fdisk -S 56 /dev/xvdb” command to partition the data disk;
Following the prompts, enter “n”, “p”, “1”, press Enter twice, and then “wq”. The partitioning will begin and complete quickly. 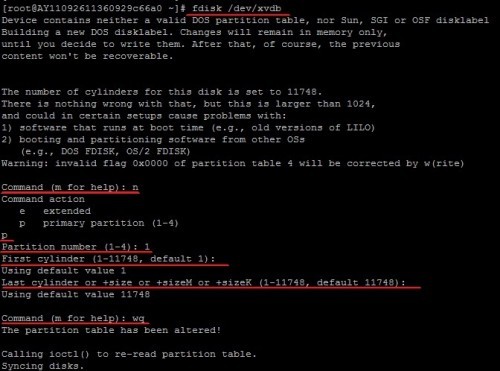
3. View the New Partition
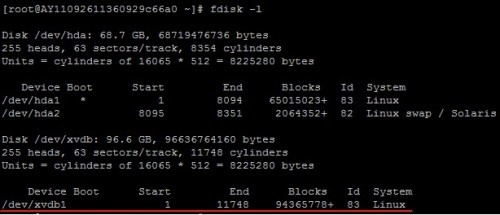
Using the “fdisk -l” command, you can see that the new partition xvdb1 has been created successfully. 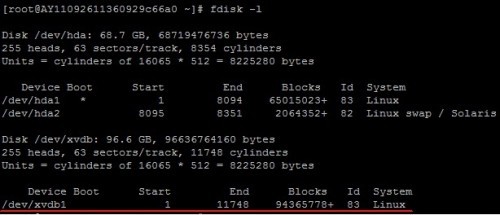
4. Format the New Partition
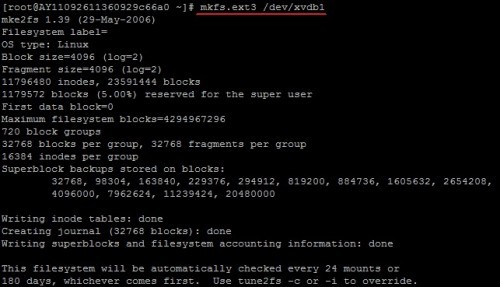
Use the “mkfs.ext4 /dev/xvdb1” command to format the new partition. The formatting time depends on the size of the disk.
(You can also choose to use the ext4 format as you prefer)
5. Add Partition Information
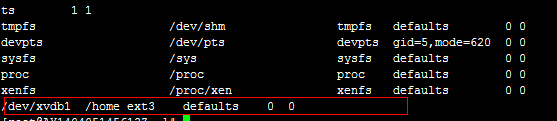
Use the “echo '/dev/xvdb1 /home ext4 defaults 0 0' >> /etc/fstab” (without quotes) command to write the new partition information.
Then use the “cat /etc/fstab” command to check. If the following information appears, it means the write was successful.
* If you need to mount the data disk to a specific folder, for example, to store web pages separately, you can modify the /home part in the command above.
6. Mount the New Partition
Use the “mount -a” command to mount the new partition, then check with the “df -h” command. If you see the following information, it means the mount was successful and you can start using the new partition.
